My New Studio – Week 9

TUESDAY
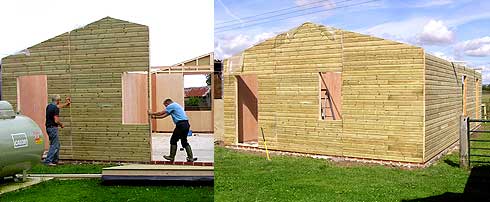
George arrived, as promised, with his helper Roger, to begin erecting the studio…and within minutes the first section was upright.
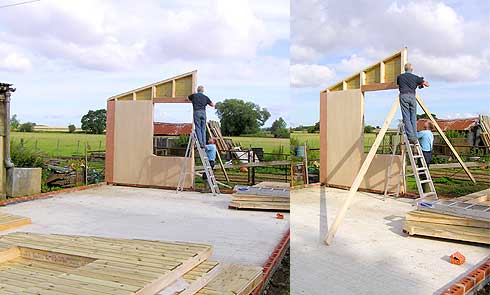
The first section erected

A quick cup of super-fuel (coffee!) and there was no stopping them.
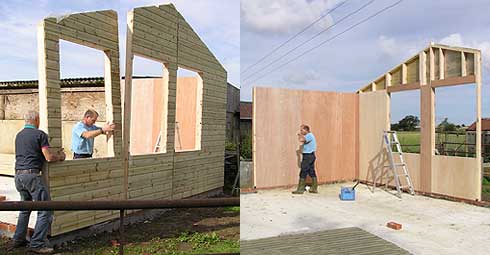
More sections erected

I couldn’t believe how fast my studio was growing!
...and more sections

Three hours and it's amost up!

And before lunch it was looking like a studio!
All walls erected

WEDNESDAY
The previous Wednesday, as I was in the lane walking the dogs, I was accosted by a driver (no vehicle in sight) who was delivering the roof trusses. The suppliers had sent him to us with an artic (semi-trailer) which couldn’t negotiate the final bend in the lane. With promises to return the next day with a rigid truck… we never saw them again! Fortunately, this is a common problem for George, our builder, and he soon had them racing out to us again and the job could proceed.

George worked hard for the rest of the day and by the time he left the empty shell was beginning to look like a building. I’m glad I chose to have an eight feet high ceiling – standing in the shell it didn’t feel at all oppressive.
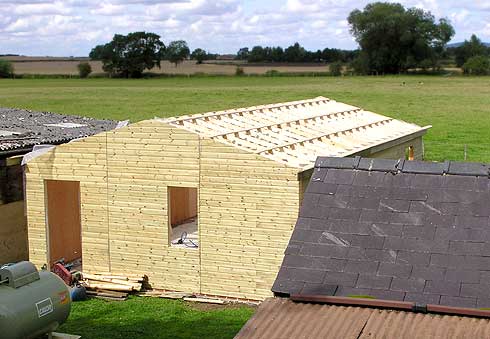
As seen from our house

THURSDAY

George offered me a deal. He couldn’t find anyone to hire to help him install the plywood ceiling, so if I’d help, he’d return the favour by helping me with the floor and its insulation. That’s a job I knew would take me far longer without George’s knowledge, so I readily agreed. And, as a bonus, I’m now totally sold on compressed air nail guns! What a machine!
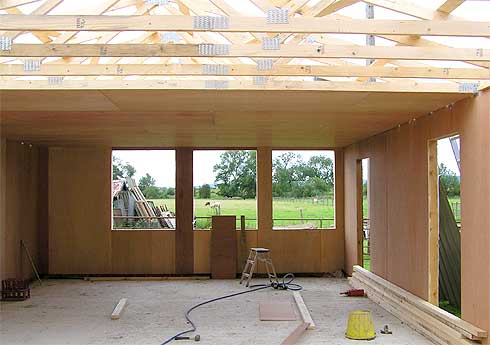
Half the ceiling completed - enough for today!

By four o’clock we had half the ceiling completed. The sky looked heavy with rain so, rather than risk a downpour overnight, George worked on into the evening installing the roof insulation and the metal box-profile panels over the completed half.
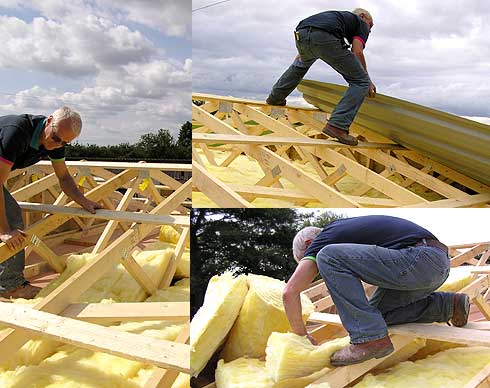
Beginning the roof insulation and covering

We have 6″ of Rockwool insulation over the ceiling, 4″ in the walls and, as you will see, 4″ of polystyrene insulation beneath the floor. As wood is itself an excellent insulator, and all potential draughty gaps will be filled with foam, this should be a warm and economical space to heat.

That morning George had the windows and doors delivered and he found time to fit the first two.
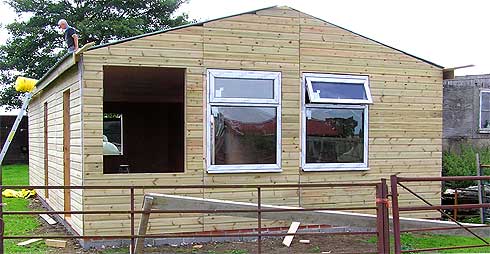
At the end of the day

FRIDAY
Work on the floor began. I had visions of 4″x2″ bearers, packed between with rockwool, and then having to nail down tongue and grooved chipboard. But the expert came up with a far better and faster solution… T&G Chipboard but glued together and laid directly over 4″ of polystyrene insulation. We had the studio area covered in no time at all, and then half of the office and storeroom end, leaving a gap where we could build the dividing wall.
Insulating and fitting the floor

SATURDAY
George began work on the partitioning wall and installed it.
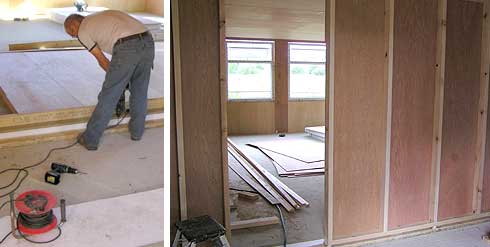
Building and installing the room partition

This wall divides the studio from the office and storage/shipping rooms. George was going to build the partition between those two rooms and complete the flooring today… but he was urgently called away to another job and promised to return later this afternoon…
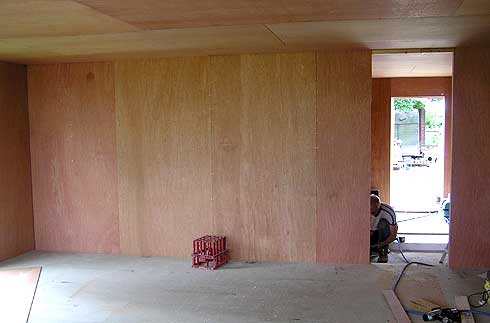
Looking from the studio through the storage and shipping room

…but he’s not back here yet and that’s as far as we’ve got right up to date. It’s been an eventful but very rewarding week!
The studio on Satuday evening

My new Studio – week 7-8

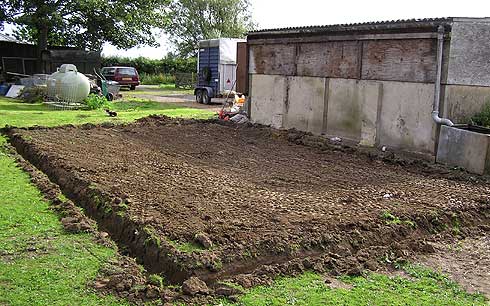
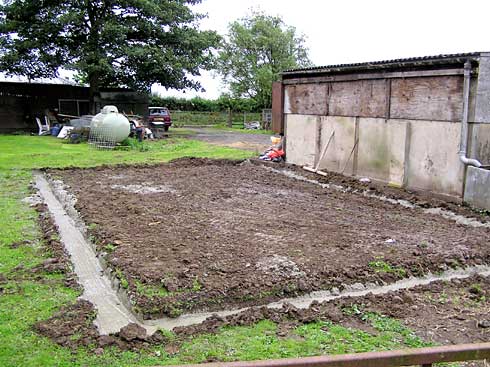
George the builder called in briefly to build the low retaining wall for the concrete floor – having first removed the soil kicked on top of the concrete by the chickens. (Reminder to self: Keep the chickens in their pen when the floor is poured!).

Louie (foreman cat) inspecting the new work

And then it rained… and rained…for days!

The digger was cancelled, because the ground was too soft. I didn’t mind, despite the delay, as access meant the digger had to travel through the field and around the back of the barn – it’s the boggy end of the field and I didn’t want it chewed up. Finally the rain abated and everything was set in motion again.

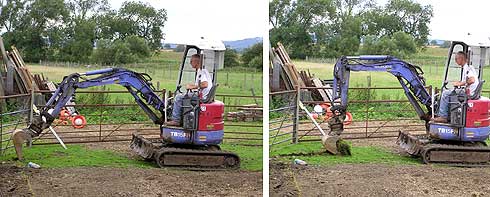
The digger arrived and levelled the contained area.

Levelling the base - the easy way!

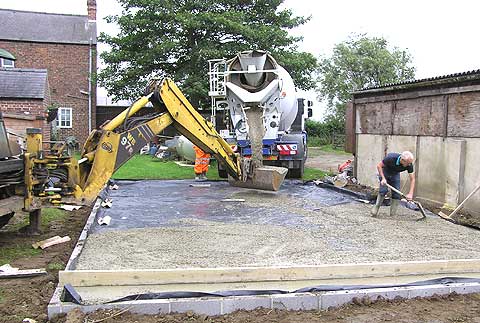
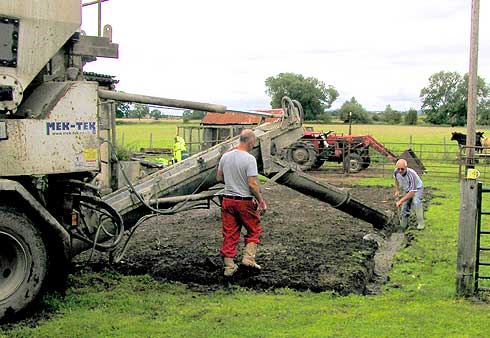
George laid the damp-proof membrane down and, right on time, the concrete mixer reversed into our yard. My vision of having to help George barrow concrete to the far end of the base soon evaporated when the digger took over the job. Instead I went to double-check that the chickens were firmly held in their pen! My workshop floor still bears a reminder of a marauding hen stomping its way from one end to the other before the concrete set!
Pouring the concrete floor

The solid base next morning

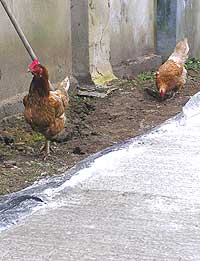
Maruading Hens

The next morning (after a night thankfully with no rain) the marauding hens inspected the new base, found it to be solid and quickly lost interest in favour of the soil alongside.

Once again we stood on the base and couldn’t help thinking “This is not going to be big enough!”. So we decided we’ll block up one of the two doors into the studio and, in time, install another one leading to the passage between the studio and my workshop. Reluctantly, I’m going to have to partition off a quarter of it to provide an additional and larger storeroom.

Once again it rained heavily for a couple of days, and George had a concrete job to attend to in Scotland. On his return he was as good as his word and spent the morning building the wall on which the studio will stand.

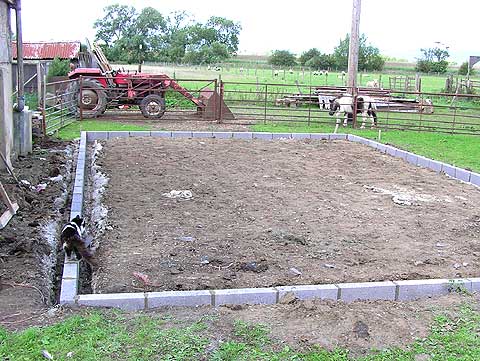
The new retaining wall

This wall will accommodate four inches of under-floor insulation, and raise the building high enough (we hope!) to avoid the light flooding that this area sometimes suffers in winter.

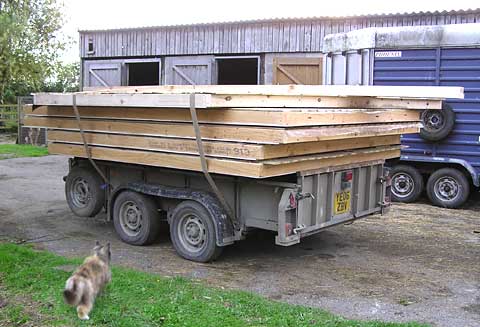
This afternoon I had to go to the Post Office to ship the pencil packs and worksheets to Loveland, Colorado, for the three-day workshop next month. On my return I found George’s van and trailer in the yard… laden with half of my studio!

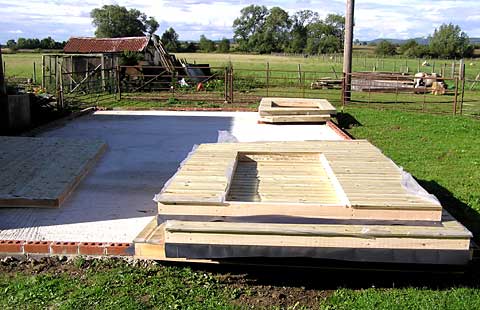
Half the studio arrives!

I helped George stack the panels in their approximate locations and he left saying he’d bring the rest tomorrow and begin assembling them, as the roof trusses are due for delivery at 4pm.

Later as I was feeding the dogs and horses, George returned with the final sections. Each section is complete, with outer boarding, damp-roof membrane, four inches of insulation, and internal plywood skin.

Clarrie inspecting the delivery

George has left his trailer here overnight, saying he had a couple of hour’s work to do at home… which reminds me – I’m supposed to be painting our bathroom ceiling… more tomorrow!

My new Studio – week 6

TUESDAY:

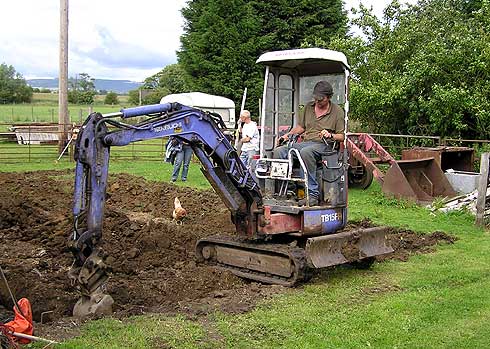
George the Builder arrived at the allotted time with digger in tow, and within 10 minutes…

Cutting the first sod

…the first sod was cut! Yeah!!!

George’s mate took over from there and in no time at all the trenches had been dug, the site levelled and both builders and digger moved to another job.

Digging the trenches for the footings
Trenches ready to receive the concrete

WEDNESDAY:

Right on time the concrete mixer backed into our yard. I made George a cup of coffee (he says he lives on caffeine) and in no time at all the site began to look as though it might eventually be a studio.

The concrete arrives
The studio begins to emerge from the ground

You know that moment when you drive past a new building site with just the footings in place and you think “Wow. That’s going to be a tiny house!”… and it turns out to be a five-bedroomed mansion? Well, that’s how I feel right now. Standing in the centre of the plot I can’t help thinking “Heck. Is it going to be big enough?” 🙂

Negative Drawing – Tiger’s ear

Alexandra emailed me to ask:

I was wondering if you would be able to give me some tips on a tiger’s ear I am drawing at the moment. The fur is really wiry and thin, and I’ve tried breaking it all down, but am not sure whether I should use the indenting technique or negative technique or both. Do I try and draw individual strands of fur, or not worry about drawing exactly what’s there?

Tiger's ear reference

First, don’t concern yourself with copying the photo. A split second after the photo was taken that area probably changed. Instead get an overall feeling for it, study it until you know it well, and then draw your interpretation.

Indenting works best in areas of high contrast, so you could use it where the hair is in front of the dark depths of the ear. Either use a fine needle or, as this is not white hair, use a hard sharp pencil, such as a 6H or even 8H. But don’t overdo the indenting, because it produces a very mechanical line that does not blend easily into surrounding drawn lines.

Personally, I’d use negative drawing for almost all of this with just a few narrow indented lines where those lines directly cross over others or where the background is dark.

Don’t be daunted by the seemingly complex task – split the job up into many stages, so you can more easily concentrate on each one. Start with the shadows between the hairs so you leave a network of white hairs. The next step is to begin working on those hairs one hair at a time. Tone each down as you think fit, to give it shaping and form, and decide at each junction or crossover if your hair is beneath or in front of the other hairs. Have fun! Seriously, don’t stress about it – take it in easy stages and just watch it grow.

Finally, you can use layers of overall tone if you need to push any areas further back, or lighten with Blu-Tack or a kneadable eraser to bring it forwards.

I hope that helps. It looks like a great project!

You can view Alexandra’s work at:
alexandra-riley.artistwebsites.com/index.html