Using copyright photographs?

How do I avoid using copyrighted photos?

Elizabeth asked:

“Do you take your own photos and draw from them? Do you draw from uncopyrighted materials? Or is it entirely from your head? I draw a little, and it’s mostly from horse encyclopedias, old calendars, and free (or not-so-free) stock photos I’ve found on the internet; most pictures I take myself I get frustrated with, but if I want to make any money off of it I can’t legally use someone else’s photography. So I was curious to know how you handled it.”

First, let’s simplify the copyright issue: Unless the originator of your photograph has given permission for it to be used, you are infringing the copyright by copying it – with or without modification. On the other hand, reference photos from a book, the Internet, or any other such source, can be used to provide information and inspiration. Use of such “borrowed” images is perfectly legal if your intention is solely to gain an understanding of, for example, the growth pattern of hair on a bear, the characteristic shape of a particular species of tree, or the texture of a hand-made brick.

If you copy copyright material for your own enjoyment or education, I doubt many photographers will object – but you should always ask first. However, if you use the image for a commercial purpose you’d better be well insured. Like you, the photographer’s income probably comes from his or her work – put yourself in the photographer’s shoes… would you permit it?

When I first began drawing seriously I ran into the same problem that you’re experiencing. Now I always work from my own photos. But I’ve also learned to do without them. I’ll explain…

In the early days I became fixated on detail. I actually believe this is a necessary stage of development that eventually leads to the skill of making rational decisions about what is important to the study and what should be discarded.

I’ve also found that the very best results come not from faithfully reproducing a reference photo but from studying it until I’ve formed a mental three-dimensional image – it’s that image I draw and not the original 2D photographic one.

Photographs are still important suppliers of detail or overall feelings for a subject or texture. For example, when I draw trees, I surround my drawing with suitable photos. A few may provide actual details, some supply a feeling for the textures and internal forms, and all remind me of what I already know.

Once you free yourself from actually copying reference photos you can use whatever you like – book illustrations, stock photos, real life, sketches – because the result takes a little from each but is undeniably YOURS. And that freedom presents one additional bonus – the reliance on memory increases your ability to see and recall everything around you.

The ability to “experience” whatever you are drawing is something I try to teach in my workshops. Once you are physically “living” within the art you are creating, memory, emotion and interpretation are of prime importance and not references.
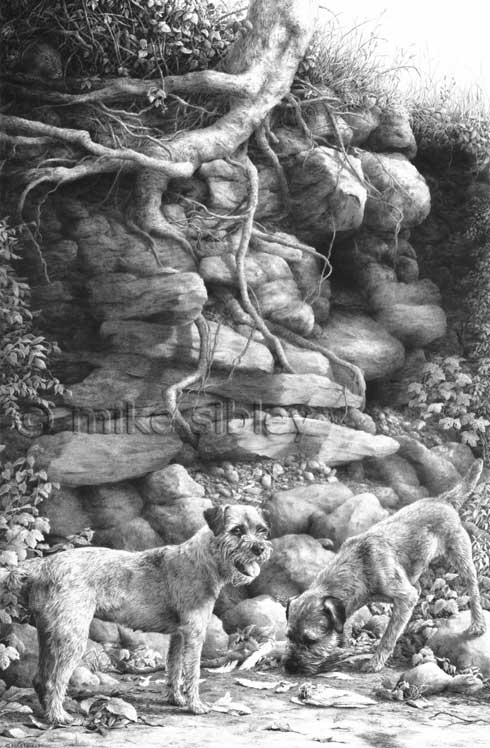
'Overlooked!' by Mike Sibley

For example, my “Overlooked!” drawing is based on photos that I personally took of Border Terriers – I had perhaps 180 of them, supplying every detail and breed characteristic that I needed.
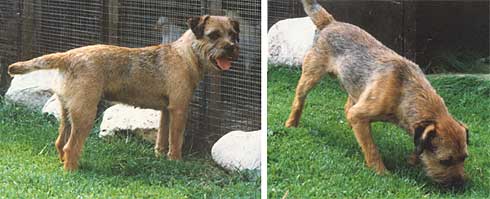
The Border Terriers used

I had one other single photo – the one that gave rise to the idea – of a tree growing on top of a low bank. The soil had slipped and its roots were fully exposed on one side.
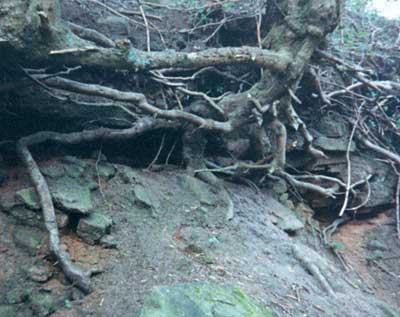
Inspiration for the composition

And many years earlier I had photographed a pet wild rabbit (rescued from a hay baler). Those were my references – everything else is entirely imaginary.
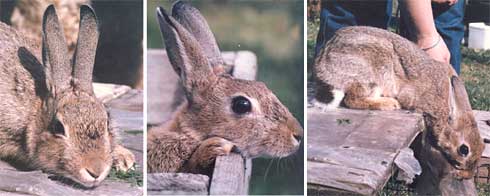
Pet wild rabbit photos

Even though the dogs are fairly accurately reproduced from the photos, each part was carefully studied, understood and my mental interpretation drawn.

So, my advice is to gradually cease using photos as the prime source of information. Whenever possible, take your own photos and take MANY. The first shot may be the one you want to use but then zoom in and take more of the detail. Move your position and take more from differing angles – take enough and you’ll be able to pick the subject up as you draw and turn it around to study it from all sides. Many 2D photos will help build a 3D image in your mind. Aim to increase your understanding of the subject and not just to capture its basic image.

You don’t say why you become frustrated with your own photographs. In my case, I’m not a natural photographer and constantly make basic errors. However, if it suits my composition, I can quite readily work from an out-of-focus photograph, because I can rebuild it using detail from all the others I took. If your photos are too dark, load them into Photoshop, or a similar program, and use the Levels facility to display all the previously obscured detail. But that’s a subject to discus on another day…. 🙂
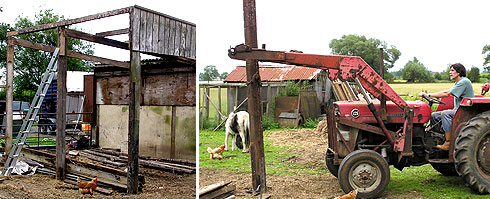
My new Studio – week 5

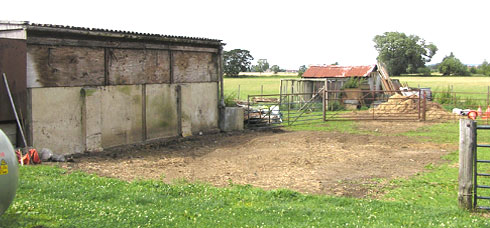
The final clearing phase was completed this weekend – from part shed to no shed.

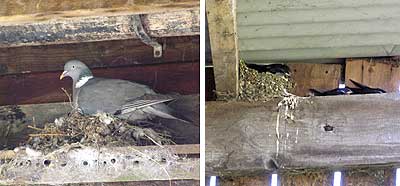
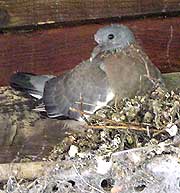
I saw the mother pigeon feeding her two young on top of the outhouse this evening, so both are fit and healthy. I’ve seen the mother a few times since the youngsters disappeared but I’m very pleased to have their safety confirmed – especially as I found the remains of a pigeon in the field this afternoon while I was harrowing it.


Today I finally began to remove the roof timbers and evicted the swallows – tyrant that I am! 🙂 There are plenty of nearby trees and access to the inside of the barn for roosts, and roosting was all they were recently using their old nest site for. With the roof and end panels removed, that just left the rotten uprights to haul out.

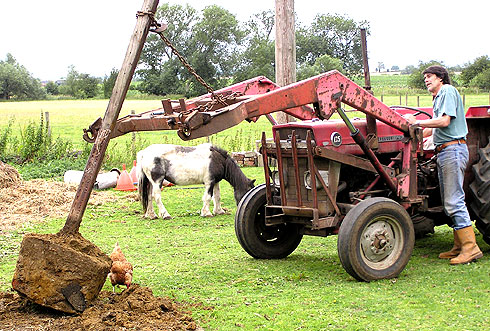
I discovered how powerful the new tractor’s hydraulics are as I lifted out the only upright that wasn’t rotten at the base – with a push to loosen it, it came out the ground complete with its concrete block. And that was it – the last post out and the job completed!

So the site is now cleared, fenced off so old Dolly the 34-year-old Shetland Pony can safely graze, and the site is ready for the builder to begin laying footings and the low wall that will contain the concrete base. The wall is designed to lift the studio above the occasional light flooding, and to dissuade Ronnie Rat and his mates from chewing their way in. All I need now is the builder….

My new Studio!

As so many people keep asking how my new studio is progressing, I’m going to keep a diary of events here. I’ve been working in the house for the past 30 professional years and I outgrew the space a couple of years ago. It’s time to move out! And Jenny would love to have the master bedroom back… and the dining room… and landing… and all the other places used for storage! 😮

More important to me is that I’ll finally have the studio space to begin making instructional DVDs – a project that I’ve been enthusiastic about for the last two or three years.

The 34′ x 20′ studio complex will consist of an office and DVD editing suite, a storage and shipping room, and a 20′ x 20′ film and art studio.

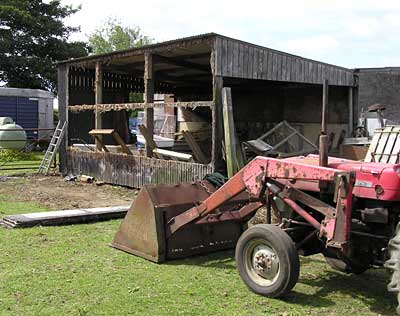
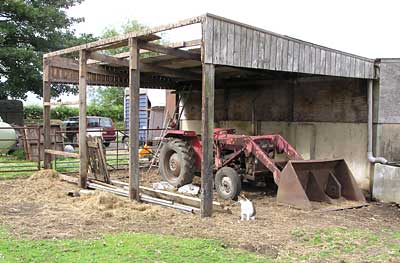
I’m currently dismantling our old hay barn to make way for the new studio – I even changed my 64 year-old MF35 tractor for a “young” 40 year old MF135 to help with the job. The old Fergie 35 lost its hydraulics a couple of years ago and, despite many attempts at replacing different parts and renewing seals, I only ever regained half the oil pressure.


Progress is slow – not just because of the tractor but because the hay store has temporary residents…


…a nursing Pigeon and a family of Swallows! And I’m having to dismantle the building carefully, because we mean to re-erect it on the other side of the barn, where it will serve as a field shelter for the horses and the MF135.

WEEK 1

This weekend I managed to remove the cladding of the vertical wall and cleared part of the site around the building. The new studio will be about one and a half times the width of this old building and ten feet longer – extending somewhere near the tractor’s bucket.

WEEK 2

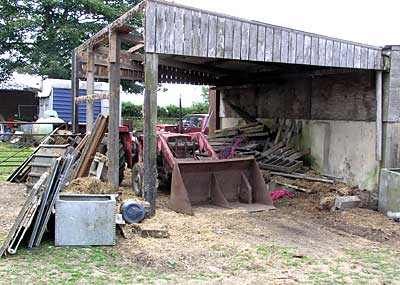
Half of the roof has been removed – up to the point where I would expose the Swallows to the elements – and I’ve begun to clear the old hay and straw from inside. The hay stood on pallets that were raised up on breeze blocks to dissuade the rats from making it a home from home, helped by the gap giving my cats room to hunt underneath.

WEEK 3


This week I’ve finished clearing everything out of the barn. The two Pigeon squabs are feathering up and the three Swallow chicks are demanding food with wide open yellow mouths, so they should all be flying soon. Unfortunately, my builder seems to have the same idea. He still hasn’t drawn up the contract and three weeks have passed. On Sunday we phoned to ask for progress and were assured it would be ready in a couple of days. Maybe…

WEEK 4

Still no contract! We’re still hoping to have the studio erected before the end of August when we fly to the United States to run the Oregon, Californian and Colorado workshops. On my return I’ll have the electrics, heating, flooring, and doors and skirtings to fit, and then begin the task of fitting out all three rooms.

This afternoon we decided to provide ourself with a “Plan B” by returning to the original company, although their quote was considerably higher – by a few thousand. We managed to reduce the price a bit but that still leaves us with a building requiring a concrete base that we have to provide, having no insulation or interior panelling, and a felt-covered roof instead of box-profile steel. Not what we’d wish for but at least we’d have a building, even though the extra work in fitting it out will almost double the price quoted by our missing builder.

On our return home we were going through the figures, over a welcome cup of coffee, when there was a knock on the door. It was the builder! Contract? “I’ll draw one up,” he said “I never used to bother with them until recently.” Apparently he was preoccupied with other jobs, but now has the materials in stock and is ready to begin. He gave us a start date and will commence building it this week in his workshop (it’s a wooden sectional building). And he’ll have it erected before we leave to run the US workshops in September.

So we’re back with him and I’m pleased. He’s a local builder who branched out into building pig farrowing sheds – which is what I’m getting, with modifications! Before you scratch your head in wonderment, the pig sheds are fully insulated, superbly lined, finished to a high standard and climate controlled.

This means I’ll now have a building that is almost fully finished, including the two internal walls, and set on a base that will be poured next Monday week.


I’ve finished clearing out the old hay store and will remove the rest of the roof as soon as the Swallows no longer need their nest. In fact this evening I removed the rest of the roof panels, and loosely replaced the one above the nest. And I dismantled some of the roof timbers. This building has to be gone my next Monday!

Two days ago one Pigeon squab disappeared and today the other has gone too. There are no signs of feathers anywhere near, so I’m happy that they’ve flown from the nest and not been caught by the fox or one of my cats. Yesterday the Swallow chicks moved from their nest onto the beam to practice flying – and immediately after I took the photo below they did just that! A short circuit and back to the beam. They’re all back alongside the nest this evening and being fed by both parents, so I’m confident I can remove the nest and the hay store next week.

I finally feel as though progress has been made – even to the point of ordering some equipment I’ll need for making the instructional DVDs.

I’ve just taken delivery of a Seagate 1.5 TB external hard drive. If you need something similar, I don’t think you can beat either the brand or price – head straight over to the BT Shop and grab one for just £74.98 including VAT and delivery!