Tips & Techniques
COMPUTER USE IN COMPOSITION - part 1
Where painters can compose directly onto their canvases we, as pencil artists, cannot. Not for us the quick stroke of a palette knife to remove or alter areas at will. Every mark we make may be visible in the final study so it's preferable to compose elsewhere then to transfer your final choice to your drawing surface. How many times have you erased a line, later to find a ghostly reminder reappearing to haunt you in an area of flat tone?
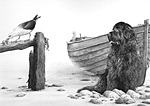
I now, almost exclusively, use the computer for composition - its versatility is unbounded. And, more importantly, the ability to revert to earlier versions is a time-saver bar none! Here I will use "Just Thinking", one of my Newfoundland prints, to explain the use of the computer in its compositional stage.
I now, almost exclusively, use the computer for composition - its versatility is unbounded. And, more importantly, the ability to revert to earlier versions is a time-saver bar none! Here I will use "Just Thinking", one of my Newfoundland prints, to explain the use of the computer in its compositional stage.
STEP ONE - acquiring source images.
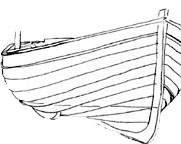
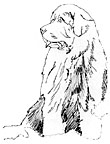
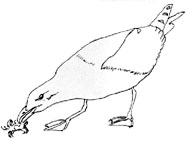
This particular study evolved from the photos and ideas left over from the main "Whistlers Cove" drawing. I had photos of the dog, many boats, a couple of posed (dead) crabs, various old wooden stumps and a few seagulls. The first step was to convert these images into line drawings. They can be quite rough at this stage - there's no need for accuracy. And nor do the line-drawings need to be copies of your photos - use your photos for reference and draw whatever you wish or just sketch from life or memory - this system will seamlessly blend images from many sources. For example...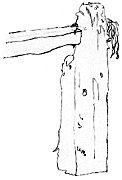
Drawing based on...
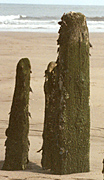
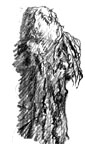
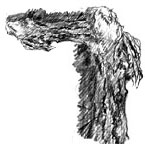
this stump...
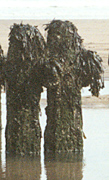
with this seaweed.
But first work began with a rough idea and few even rougher sketches of the various elements...
STEP TWO - Loading your images.
A new file is opened in Adobe Photoshop, although any graphics program that supports layers will do, such as Paint Shop Pro or GIMP. The rough line drawing of each element is scanned into Adobe and the resulting files left open so each can be dragged and dropped into the new composition file when required. Each element, as it is dropped, is automatically allotted its own layer. The use of layers will be described in detail in part 2 - for the moment just accept that this allows each to be moved, resized or switched on or off independently of the other elements.Initially I tried standing the gull on the boat but I couldn't achieve this correctly at the dog's eye level. So I decided to use the stump, which required a cross-member. You could quickly sketch and scan in a new stump but, for speed, I simply copied the stump to a new layer, where it was flipped horizontally, turned through 90° and moved into position...

Which brings us to version #1 of the composition...
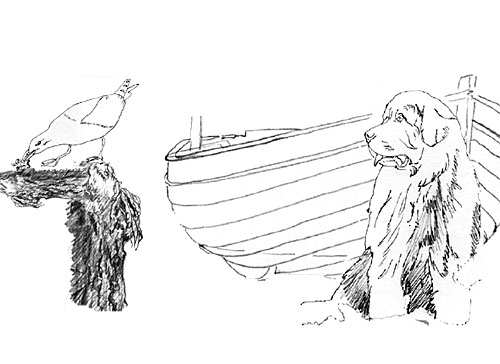
This looks as though it will work out OK so work begins on tidying up the elements. The dog is redrawn with accuracy and the stump is replaced by a more suitable version...
This looks as though it will work out OK so work begins on tidying up the elements. The dog is redrawn with accuracy and the stump is replaced by a more suitable version...

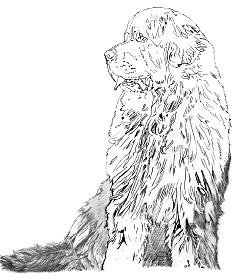
Line drawing based on the photo above with lower parts reconstructed
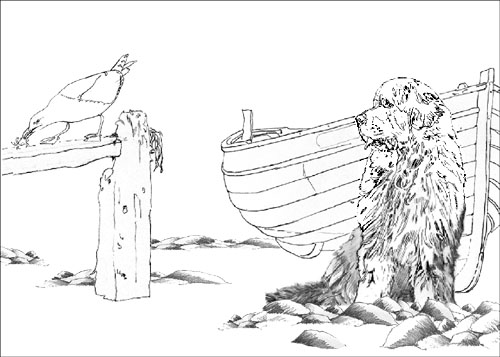
Now work has begun on Version #2 including the setting itself...

Not bad... but the balance is wrong. And that's where layers come into their own! Without any effort at all we can begin moving things around - the boat moves right, the seagull edges left and the stump's cross member is lengthened. Finally, I'm satisfied and the composition is complete...
Not bad... but the balance is wrong. And that's where layers come into their own! Without any effort at all we can begin moving things around - the boat moves right, the seagull edges left and the stump's cross member is lengthened. Finally, I'm satisfied and the composition is complete...
STEP THREE - Transferring your new image
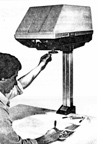 Print out your chosen composition then transfer it to your final drawing surface. You can square it up and use the grid method or use any other means you like. Personally, I put it in the back of my Artograph DB300 (pictured) to project it down onto my drawing paper and use a 6B pencil to lightly mark the position of each element. Then, one by one, I project the original drawing of each element into place, erase the 6B placement marks and transfer the line drawing accurately with a sharp, lightly held 2B lead.
STEP FOUR - The drawing begins
Now the real work starts - the drawing - the fun bit, the part that defeats all those who think using mechanical aids produces "drawing by numbers". In my case the final result took 27½ hours to complete and all the effort has been worthwhile.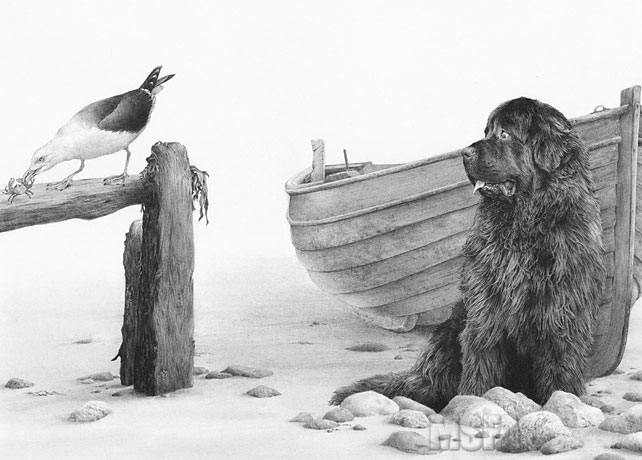
TOP TIP
Can't make out the detail in a photograph? Stuck for that vital piece of visual information that will make your drawing?Treat your photo like a transparency. Hold it up very close to a desk-lamp or other strong light source so the light shines through the paper from behind ... and be amazed at the detail that shines out!
Available here...

320gsm super-smooth Brilliant White paper
The ultimate versatile kneadable eraser
288 pages of drawing techniques and more...

Pencils, Starter Packs and accessories...
320gsm super-smooth Brilliant White paper
The ultimate versatile kneadable eraser
288 pages of drawing techniques and more...
Pencils, Starter Packs and accessories...
